
Golf Simulator Projector Guide for Buyers
- Michael Cocce

- Apr 10
- 6 min read
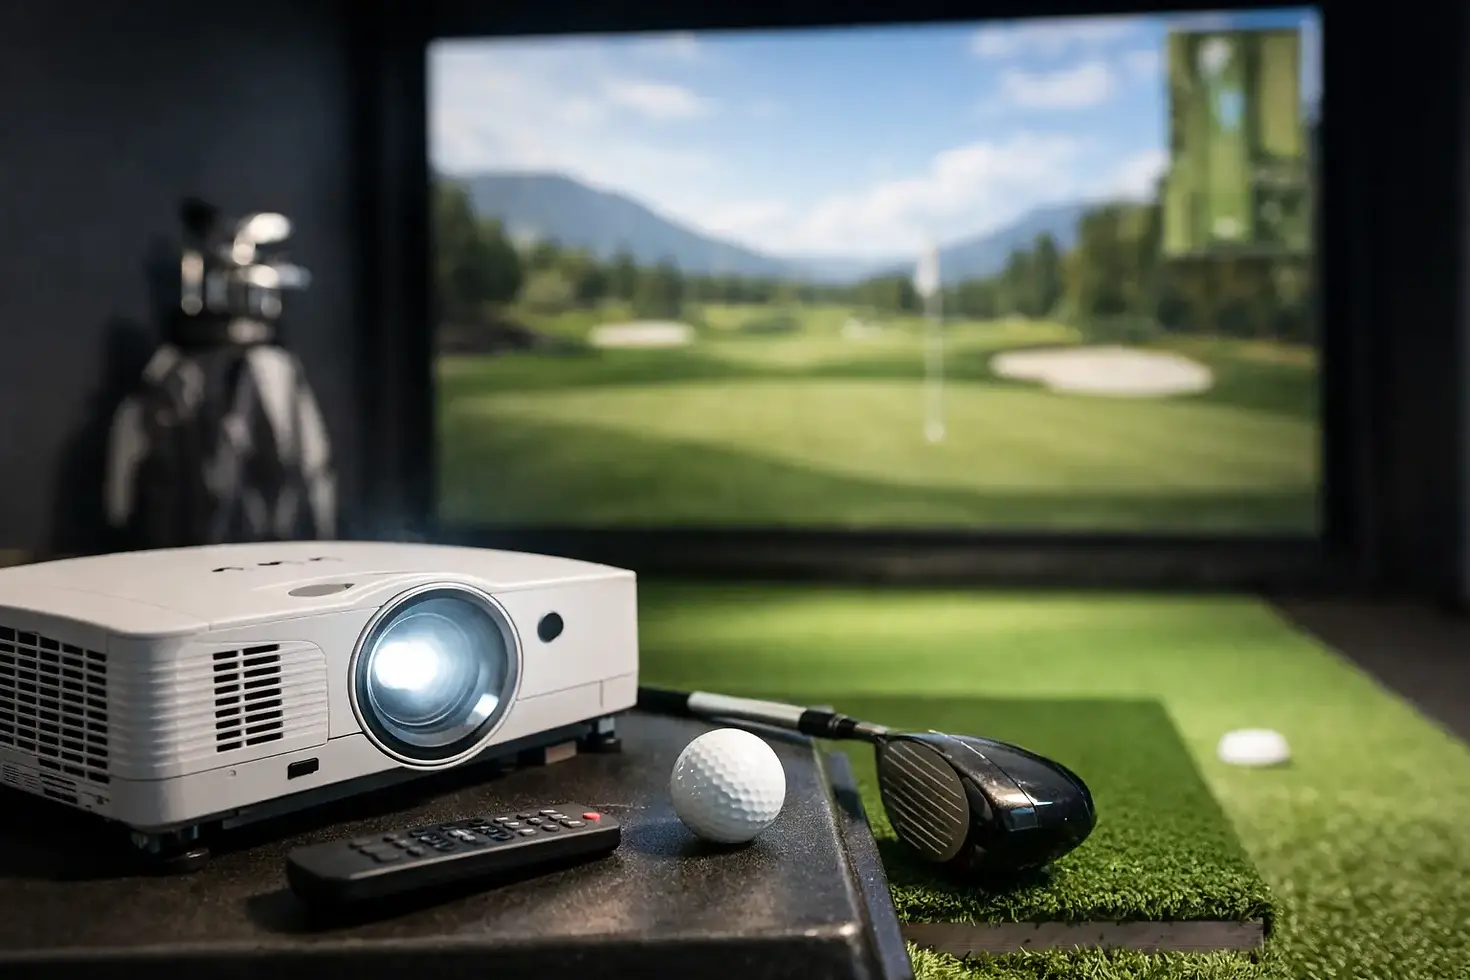
A projector can make a premium simulator feel polished - or make an expensive build look dim, stretched, and frustrating to use. That is why a solid golf simulator projector guide matters. The right projector is not just about picture quality. It has to match your room, your screen size, your launch monitor setup, and the way you plan to use the space.
For most buyers, projector selection gets confusing fast because projector specs look straightforward until they meet a real simulator room. A basement with low ceilings needs different planning than a garage bay. A home practice setup has different priorities than a bar, restaurant, or high-traffic commercial venue. The best choice depends on how all the pieces work together.
What a golf simulator projector guide should actually help you decide
Most people start with brightness or resolution because those are the easiest numbers to compare. They matter, but they are not the whole story. In a simulator, the projector also has to fit physically in the room, avoid shadows, line up cleanly with the impact screen, and hold up under regular use.
A good projector decision usually comes down to five factors working together: throw ratio, brightness, resolution, aspect ratio, and mounting position. If one of those is off, the image can feel compromised even if the projector itself is a quality model.
That is why projector selection should happen as part of the system design, not as an afterthought. A projector that looks great on paper can still be the wrong fit for your build.
Start with room dimensions and screen size
The first question is not which projector brand is best. It is how much room you have and what screen size the space can support.
Screen width, ceiling height, and depth all affect projector choice. If your room is shallow, a standard throw projector may need to be mounted too close to the golfer or too far back to create the image you want. That is where short throw models often become the better option. They can produce a large image from a shorter distance, which helps reduce shadows and keeps the projector out of the hitting area.
If the room is larger and the mounting position is flexible, you may have more projector options. Even then, bigger is not always better. A screen should fit the room naturally and still leave enough space for safe swings, proper launch monitor placement, and clean installation.
In custom simulator design, projector choice follows the room. It should not force awkward compromises.
Brightness matters, but usage matters more
Brightness is usually measured in lumens, and it is one of the first specs buyers notice. The general assumption is simple: more lumens means a better projector. Sometimes that is true. Sometimes you are just paying for output you do not need.
For a residential simulator in a controlled lighting environment, moderate to strong brightness is often enough. If the room can be darkened and is mainly used for practice or family entertainment, you may not need an ultra-bright commercial-grade projector.
For commercial spaces, brightness becomes much more important. A simulator in a restaurant, sports bar, golf facility, or school may have ambient light that cannot be fully controlled. In those settings, a dim image can make the whole experience feel flat. A brighter projector helps preserve image quality and keeps simulator software readable and engaging.
The trade-off is that brighter projectors often cost more, may produce more fan noise, and can add heat. The right answer depends on where and how the simulator will be used.
Throw ratio is often the spec that makes or breaks the setup
If there is one detail people underestimate, it is throw ratio. This tells you how far the projector needs to be from the screen to create a specific image width.
In simulator rooms, throw ratio affects safety, image fit, and golfer comfort. A projector mounted in the wrong zone can cast shadows during the swing or place hardware in a vulnerable spot. That is one reason short throw projectors are so common in golf simulator builds. They let you mount the projector closer to the screen and farther from the player’s swing path.
That said, short throw is not automatically the right choice for every room. Some setups work well with standard throw projectors, especially if the room depth and ceiling structure allow ideal placement. The key is to calculate the mounting distance based on the actual screen dimensions, not a rough guess.
This is where professional planning saves time and money. It is much easier to choose the right projector before installation than to solve image problems after the room is finished.
Resolution affects more than looks
Resolution shapes how sharp the simulator image feels, but it also affects readability, software presentation, and overall immersion. For many buyers, 1080p remains a practical choice and can look very good in the right setup. It is often a strong fit for home builds where value and performance need to stay balanced.
Higher resolutions, including 4K-capable options, can deliver a more refined image and better detail, especially on larger screens. That can be attractive for premium residential spaces and commercial environments where visual impact matters.
Still, resolution is not a standalone decision. If the room lighting is poor, the projector is underpowered, or the image is not aligned correctly, higher resolution alone will not fix the experience. It has to be part of a balanced system.
Aspect ratio and screen shape need to match the software experience
One of the most common simulator mistakes is choosing a projector and screen that do not work well together. Aspect ratio plays a big role here.
Many golf simulator setups use a 16:9 or 16:10 image format, but the ideal ratio depends on the screen dimensions and the simulator software being used. If the projector and screen are mismatched, you can end up with unused screen space, image distortion, or awkward cropping.
For buyers investing in a custom build, this is worth getting right from the start. The image should fill the screen cleanly and look intentional. A simulator room feels more premium when every element is sized and aligned for the space.
Mounting position is a design decision, not just an install detail
Projector mounting affects image performance, room appearance, and player safety. In some rooms, ceiling mounting is straightforward. In others, low ceilings, garage door tracks, HVAC, beams, or lighting create constraints that need to be worked around.
The projector also needs protection from golf balls and enough separation from the swing area. In many builds, the best mounting point is a carefully planned compromise between image geometry and real-world room limitations.
This is especially true when integrating the projector with launch monitor placement, enclosure depth, turf layout, and ceiling protection. A well-designed simulator room feels clean because those decisions were coordinated early.
Home and commercial buyers should not shop the same way
A homeowner building a simulator for personal practice and entertainment has a different set of priorities than a business owner trying to create a revenue-producing attraction. At home, noise level, image quality, aesthetics, and value may lead the decision. In a commercial setting, durability, brightness, reliability, and serviceability usually matter more.
That difference matters when choosing projector hardware. A projector that performs well in a basement may struggle in a high-traffic sports bar. A model that is perfect for a polished entertainment venue may be overkill for a garage practice bay.
That is why a one-size-fits-all recommendation rarely holds up. The best projector is the one that fits the demands of the specific space.
Why expert system design pays off
Projector mistakes are expensive because they often show up after the room is built. By then, the screen is installed, the turf is down, and the mounting location may already be set. Fixing the wrong throw distance or poor brightness after the fact is harder than it should be.
Working with an experienced simulator partner helps you avoid those issues before equipment is ordered. That includes matching the projector to the room dimensions, screen format, use case, and budget while making sure it integrates cleanly with the rest of the simulator system.
For buyers who want premium performance without guesswork, that planning is where real value shows up. Green Pro Golf Simulators approaches projector selection as part of the full room design, not a separate product decision, which leads to cleaner installs and better long-term results.
The best projector is not the most expensive one or the one with the flashiest spec sheet. It is the one that makes your simulator look right, play right, and fit your space from day one.


Comments