

Launch Monitor Data Guide for Better Golf

You do not need more swing thoughts. You need better feedback. A good launch monitor data guide helps cut through the noise by showing which numbers actually explain your ball flight, which ones are nice to have, and which ones matter most for your goals.
For most golfers, launch monitor data becomes useful the moment it answers a practical question. Why is the driver spinning too much? Why do irons start online but finish right? Why does one simulator feel more accurate than another? The value is not in collecting every metric available. It is in knowing how the right data helps you improve, fit equipment, and build a simulator space that matches the way you play.
What a launch monitor is really measuring
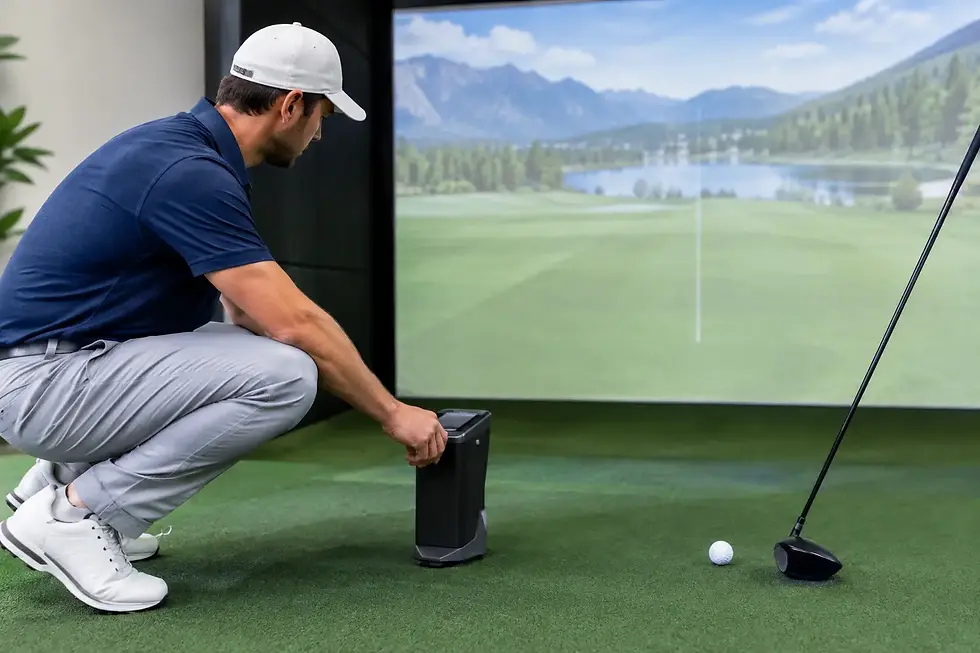
At its core, a launch monitor captures what the club is doing through impact, what the ball does immediately after impact, or both. Different systems use different methods. Some rely more heavily on radar, some use high-speed cameras, and some blend technologies.
That difference matters because not every launch monitor is equally strong in every environment. Radar-based systems often shine when they have enough ball flight to track, while camera-based systems can be especially strong indoors where space is limited and detailed impact data matters. Neither approach is automatically better in every setting. It depends on the room, the player, and how the simulator will be used.
For a homeowner building a garage or basement simulator, the right question is not which monitor has the longest spec sheet. It is which one delivers reliable, repeatable data in your available space. For a commercial facility, the priorities may shift toward durability, throughput, user experience, and broad appeal across different skill levels.
Launch monitor data guide: the core numbers to understand
If you are new to simulator data, start with the metrics that most directly shape ball flight. These are the numbers that tend to matter first.
Ball speed
Ball speed is how fast the ball leaves the clubface. It is one of the clearest indicators of strike quality and energy transfer. With the driver, higher ball speed usually means more distance, assuming launch and spin are in a playable window.
If ball speed jumps around from swing to swing, that often points to inconsistent contact. For practice, this can be more useful than obsessing over swing positions. For club fitting, it quickly reveals whether a shaft or head change is actually helping.
Launch angle
Launch angle is the initial upward or downward angle of the ball after impact. Too low, and you leave distance on the table. Too high, and the ball can balloon, especially if spin is also high.
This number is club dependent. A strong driver launch can be a problem with a 7-iron, and a lower iron launch can be perfectly normal. Context matters. You want launch angle viewed alongside ball speed and spin, not by itself.
Spin rate
Spin rate has a huge influence on carry, control, and shot shape. With the driver, excess spin can cost distance. With wedges and short irons, spin is often your friend because it helps hold greens and control trajectories.
This is one area where players often misread the data. Lower spin is not always better. It depends on the club, your speed, your delivery, and the type of shot you are trying to hit. Good numbers are playable numbers, not just low numbers.
Carry distance
Carry distance is often the most useful distance metric in simulator practice because it removes rollout variables. It tells you how far the ball flies in the air, which is what matters most for gapping and approach play.
For indoor use, carry is usually more dependable than total distance when comparing shots. Total distance can vary based on software settings, turf assumptions, and landing conditions. If you are dialing in your irons, carry should be your anchor.
Side spin or spin axis
Modern systems may show spin axis instead of older side-spin style readings. Either way, the point is the same: this data helps explain curvature. A ball that starts straight and curves left or right is giving you a spin story.
This is especially useful when players say, "I have no idea why that hooked." Often the answer shows up clearly in face-to-path relationship and resulting spin axis.
The club data that explains why shots happen
Ball data tells you what happened. Club data gets you closer to why it happened. Not every golfer needs a full set of club delivery metrics every day, but some numbers are extremely helpful.
Club path
Club path describes the direction the clubhead is moving at impact relative to the target line. It strongly influences shot shape, especially when paired with face angle.
If your path is significantly in-to-out and the face is closed to that path, you will likely see draws or hooks. If path moves out-to-in with an open face, fades and slices become more likely. This is one of the fastest ways to connect feel with reality.
Face angle
Face angle has a major impact on starting direction. Many golfers are surprised to learn the clubface usually has more influence on start line than path does, especially with longer clubs.
This is why a player can feel like they made the same swing twice and still get very different results. A small face change at impact can create a completely different shot.
Angle of attack
Angle of attack measures whether the club is moving up or down at impact. With the driver, a positive angle of attack can help optimize launch and distance. With irons, a downward strike is usually expected.
This number becomes very useful in fitting and optimization. If a player has a downward driver strike and high spin, changing equipment may help, but swing delivery still plays a major role.
Smash factor
Smash factor compares ball speed to club speed. It is a quick efficiency check. Strong smash factor often points to centered contact and good energy transfer.
It is helpful, but it should not be treated like a trophy metric. Chasing smash without regard for face control, spin, or launch can lead golfers in the wrong direction.
How to use launch monitor data without getting overwhelmed
The smartest way to use data is to narrow your focus. Pick one ball-flight problem or one club category at a time. If your 6-iron carry distances are inconsistent, work there first. If your driver spins too much, look at driver launch, spin, face, and attack angle before moving on to anything else.
Most players improve faster when they track patterns instead of reacting to single shots. One swing can be a fluke. Ten swings usually tell the truth. Look for clusters, averages, and tendencies.
It also helps to separate practice sessions by purpose. One session can be about skill development. Another can be about distance gapping. Another can be about comparing equipment. Mixing all three at once usually creates confusion.
Launch monitor data guide for home and commercial simulators
Data quality is not just about the monitor itself. It is also about the environment around it. Ceiling height, room depth, hitting area placement, lighting, flooring, and software setup all affect how well a system performs.
In a home build, the right launch monitor depends on more than budget. Room dimensions may favor one technology over another. A left- and right-handed household may need a different setup than a single-user room. A golfer focused on practice may prioritize club and ball data, while a family entertainment space may care more about ease of use and game play.
In a commercial environment, the equation changes again. A bar, restaurant, school, golf facility, or 24/7 simulator venue needs equipment that performs consistently across heavy usage. You also need a layout that keeps play moving, protects equipment, and delivers a polished customer experience. The best system on paper can be the wrong system if it creates friction for real users.
That is where an experienced simulator partner makes a difference. The right recommendation comes from understanding the space, the players, and the purpose of the build, not just reading a spec sheet.
When the numbers look good but the result does not
This happens more often than people expect. A shot can look solid in a data table and still feel wrong in the room. Sometimes that points to setup issues. Sometimes it is a matter of calibration, ball type, or environmental limitations. Other times the data is accurate, but the player is reacting to feel rather than outcome.
That is why trust and repeatability matter more than one perfect reading. A strong simulator setup should give you data you can rely on day after day. If the numbers are consistent, you can coach from them, fit from them, and make decisions with confidence.
For buyers comparing systems, this is the real standard. Do not ask only what metrics a unit can display. Ask how accurately it captures the metrics that matter for your game, in the room where you will actually use it.
The best launch monitor data does not make golf simpler. Golf stays hard. What it does is remove guesswork, and that is a big advantage whether you are building a serious practice space at home or investing in a simulator business that needs to perform from day one. If the data helps you make better decisions, it is doing its job.


Comments