

How Long Simulator Installation Takes for Your Space

A golf simulator can be physically installed in a day, but the full project timeline is usually longer than the day the crew arrives. When customers ask how long simulator installation takes, the most useful answer separates planning, room preparation, equipment delivery, and final calibration. A well-designed system moves efficiently because each of those pieces is addressed before installation day.
For a straightforward residential build in a ready-to-use room, the on-site installation often takes one to three days. A custom theater-style enclosure, basement renovation, garage conversion, or commercial venue can take several weeks from initial design to opening day. The difference is rarely the simulator itself. It is the condition of the space, the level of finish, and how many trades are involved.
How Long Does Golf Simulator Installation Take?
Most projects fall into three practical timelines.
A plug-and-play setup in a prepared room may take one day for assembly, mounting, computer setup, and testing. This is most common when the room already has suitable ceiling height, finished walls, dependable power, internet access, and a location for the impact screen and projector.
A custom residential installation commonly requires two to three on-site days after the room is ready. That allows time to build the enclosure, install turf and hitting surfaces, mount the launch monitor and projector, route cables cleanly, configure the software, and verify that the system reads shots accurately. If custom cabinetry, acoustic treatment, lighting, or a lounge area is part of the plan, the overall calendar can extend beyond that installation window.
Commercial projects need more coordination. A bar, restaurant, golf facility, school, or 24/7 simulator venue may involve multiple bays, commercial-grade finishes, electrical work, networking, permits, signage, and coordination with other contractors. The simulator installation itself may take three to seven days depending on the number of bays. From design approval to a customer-ready opening, many commercial projects take four to eight weeks, with larger builds taking longer.
The Timeline Starts Before Equipment Arrives
The fastest installations are won during the planning stage. Before a system is selected, the room must be measured and evaluated for the golfer, not just the equipment. Ceiling height, room width, depth, obstruction locations, flooring, lighting, electrical access, and intended player handedness all affect the design.
A launch monitor that performs exceptionally in one room may not be the right fit for another. Overhead units, floor-mounted systems, camera-based systems, and radar systems have different space and mounting requirements. Selecting the right premium technology early prevents a costly change once framing, turf, or screen placement is underway.
Design and consultation can take a few days for a simple project or one to two weeks for a more detailed custom build. This phase includes confirming the room layout, selecting technology, determining screen size and aspect ratio, choosing projector placement, and planning the overall finish. For commercial spaces, it also includes thinking through traffic flow, booking operations, durability, accessibility, and the guest experience.
Equipment availability is another calendar factor. Some components are readily available, while certain launch monitors, projectors, computers, custom enclosures, and specialty finishes may have lead times. Ordering after the design is finalized is the most reliable way to protect the schedule and avoid buying equipment that does not fit the room correctly.
Room Preparation Is Often the Real Variable
If a room is already finished and correctly sized, preparation may be minimal. A garage, basement, bonus room, or existing commercial bay can be transformed quickly when power, climate control, and surfaces are already in place.
More often, the room needs some work before installation. This can include adding dedicated electrical circuits, relocating outlets, installing ceiling backing for an overhead launch monitor or projector mount, framing a screen wall, leveling the floor, improving Wi-Fi coverage, or adding lighting controls. A golf simulator should also be protected from extreme temperatures and humidity. That is especially relevant in garages and unfinished lower levels, where climate control affects comfort, electronics, and the life of turf and screen materials.
Finishes can also add time for good reasons. Dark wall or ceiling treatments reduce projector washout. Acoustic panels can make a simulator room more comfortable for family members, neighbors, and customers. Built-in seating, storage, beverage stations, and branded commercial details turn a hitting bay into a destination. These upgrades are not required for every project, but they should be scheduled before the simulator team arrives whenever possible.
For homeowners, room prep may take a few days to two weeks. For a commercial build involving permits, construction crews, and multiple trades, it can take several weeks. The key is not rushing the simulator into an unfinished space. A clean, complete room lets the final installation look intentional and perform the way it should.
What Happens During On-Site Installation?
On installation day, the work is methodical. The crew begins by confirming room dimensions and the final location of major components. Even with detailed planning, verifying measurements on site protects screen tension, projector alignment, and swing clearance.
Next comes the physical build. Depending on the project, that may include the impact screen enclosure, side and ceiling protection, turf, hitting mat, putting surface, projector mount, and launch monitor hardware. Cables are routed and secured so the room remains clean, safe, and easy to service later.
The technology portion follows. The computer, display, projector, launch monitor, software, and network connection are configured as a system rather than as separate products. This is where technical expertise matters. A premium launch monitor is only as enjoyable as the full experience around it: clear image quality, accurate shot data, stable software, proper projector geometry, and controls that are simple for the user.
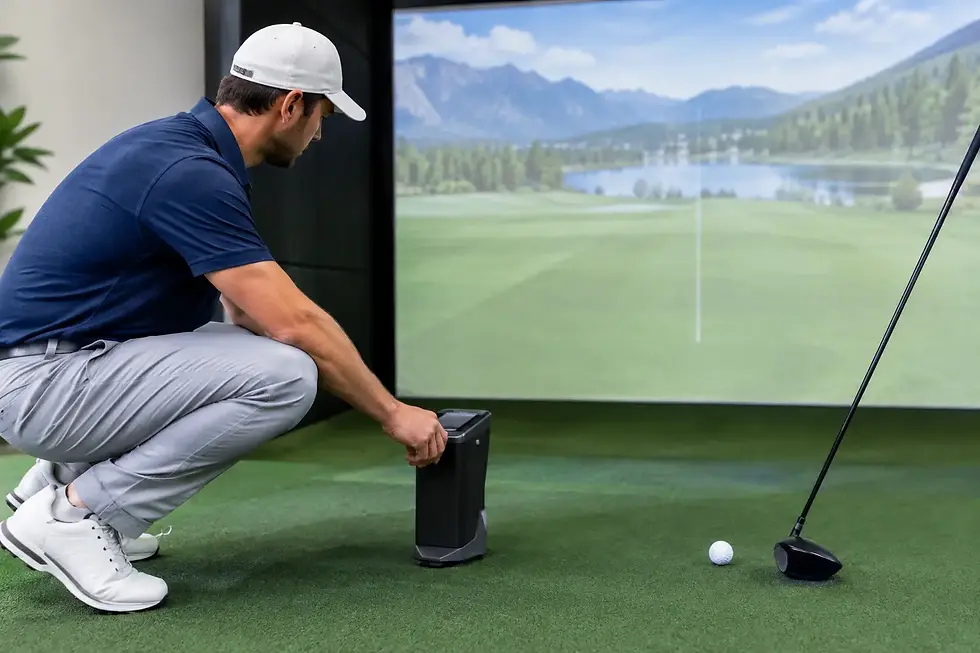
Calibration and testing are the final steps. The installer checks screen image alignment, hitting area placement, launch monitor settings, ball tracking, and software operation. Real shots should be hit before the project is considered complete. This gives the user confidence that the system is reading accurately and that the room is comfortable for both right- and left-handed players when the design supports both.
Factors That Can Extend the Schedule
A longer schedule is not automatically a problem. It often reflects a more customized result. Still, a few issues are especially likely to add time.
Late room changes are one. Moving a screen wall, adding a soffit, changing ceiling height, or discovering hidden ductwork can affect the entire layout. Electrical and network work can also create delays if it is not planned in advance. A projector and simulator computer need stable power, while commercial sites may require a more deliberate network setup for updates, booking platforms, and multiple bays.
Custom materials can extend the timeline as well. Specialty turf cuts, cabinetry, branded finishes, and made-to-order components should be accounted for early. Finally, software access and user accounts should be ready before installation. There is no benefit to completing a beautiful build only to wait on credentials or a required update before the first round.
How to Keep Your Simulator Project on Schedule
The simplest way to reduce delays is to involve a simulator specialist before construction decisions are locked in. A room may look large enough on paper but still create problems with swing clearance, projector placement, or launch monitor operation. Planning around the actual golfer and intended technology prevents rework later.
Homeowners should have the room emptied, accessible, climate controlled, and reasonably clean before the installation date. If trades are completing electrical, paint, flooring, or millwork, allow time for that work to finish and cure. Commercial operators should also identify who will make final decisions on site, since small layout questions can slow a crew when approval is unclear.
Working with a full-service partner also reduces handoffs. Green Pro Golf Simulators coordinates the design, premium equipment selection, installation details, and support needs around the finished experience. That approach helps keep the project focused on performance, not on sorting out which vendor owns the next problem.
A simulator is worth scheduling carefully because it becomes part practice facility, part entertainment space, and, for many businesses, part revenue engine. Give the room and the installation team the preparation they need, and the first tee shot can arrive much sooner than a rushed fix later.


Comments