

How to Build a Golf Room That Plays Right

A great golf room is not defined by the biggest screen or the most expensive launch monitor. It is defined by whether you can swing freely, trust the numbers, and enjoy using the space every day. When homeowners ask how to build a golf room, the right answer starts with the room itself - then builds a simulator system around the way they plan to play.
For some golfers, that means serious year-round practice with club and ball data they can rely on. For others, it means family game nights, entertaining friends, and a premium addition to a basement or garage. Commercial buyers may be focused on durability, throughput, and an experience customers will return for. Each goal affects the design.
Start With the Golf Room, Not the Equipment
Before choosing a launch monitor, projector, or enclosure, measure the usable space. Usable space is more than wall-to-wall dimensions. It accounts for ceiling height, swing clearance, the golfer’s hitting position, screen setback, and room behind the player.
Ceiling height is usually the first make-or-break detail. Ten feet is a strong target for most adult golfers and allows greater flexibility with driver swings. A nine-foot ceiling can work in certain rooms, particularly for shorter players or more compact swings, but it requires careful testing. A room that looks large on paper can still feel restrictive if a player cannot make a confident full swing.
Width matters because golfers need room to stand offset from center and because a simulator becomes more valuable when both right- and left-handed players can use it comfortably. A width of 12 to 15 feet often provides a practical starting point. Depth is equally important. Many quality golf room designs need roughly 16 to 20 feet from screen to rear wall, although the exact requirement depends on the launch monitor technology and enclosure layout.
Do not rely on a tape measure alone. Check for soffits, ductwork, ceiling fans, light fixtures, garage-door tracks, posts, uneven floors, and door swings. These details can determine whether a planned setup feels polished or becomes a daily compromise.
Choose a Simulator Layout for How You Play
The best layout depends on the room and the intended use. A dedicated simulator room can support a full enclosure, a permanent impact screen, integrated turf, and theater-style seating. A garage may need a retractable or more flexible design that preserves parking and storage. A basement may require creative solutions for low ceilings, support beams, or limited depth.
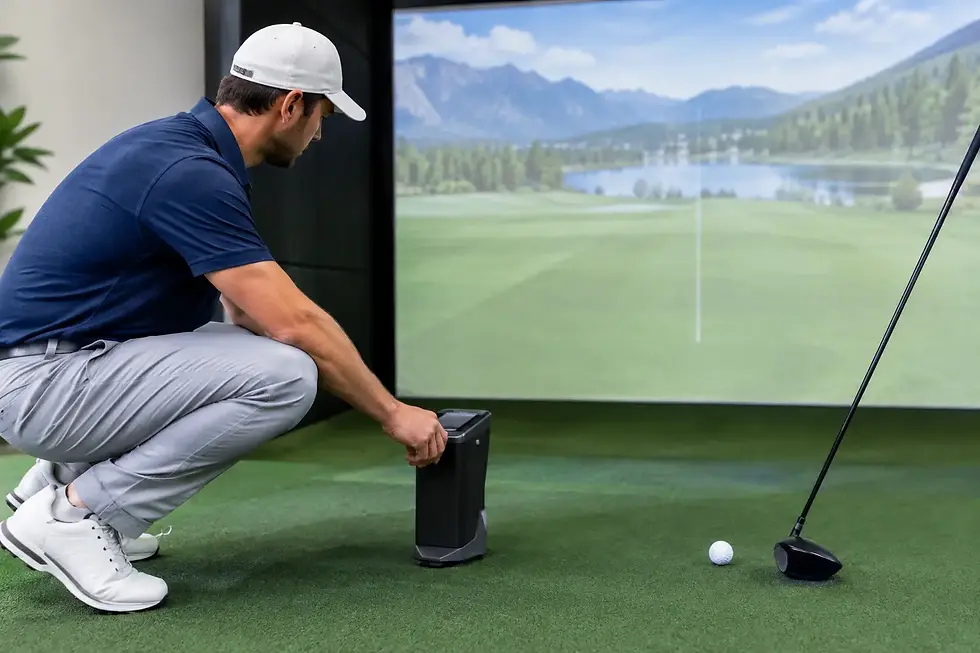
The hitting position is central to every layout. The golfer needs enough room to swing without worrying about a wall, ceiling, or screen frame. The ball also needs adequate flight distance before impact. That space helps camera-based and radar-based systems capture dependable data, though each platform has different placement requirements.
For homes with both right- and left-handed golfers, plan for center hitting or a hitting area that accommodates both stances. This may affect your launch monitor choice, turf dimensions, and screen width. It can increase the initial investment, but it makes the room far more useful for family and guests.
Commercial spaces need another layer of planning. A bar, restaurant, golf course, or 24/7 simulator facility should consider traffic flow, player safety, staff visibility, food and drink placement, and the ability to reset a bay quickly between groups. A beautiful bay that creates bottlenecks will not perform as well as a thoughtfully designed one.
Build the Room Around Safety and Ball Containment
A golf room should feel immersive, but safety comes first. The impact screen must be designed to absorb repeated shots, and the enclosure should capture mishits without creating hard rebound surfaces near the player. Side and ceiling protection are especially important when players of different skill levels will use the space.
Quality impact screens, padded walls, side netting, and properly tensioned enclosures all work together. The screen should sit far enough from the hard wall behind it to reduce bounce-back and protect the structure. The exact clearance depends on the screen and frame system, but this is not a place to cut corners.
Plan for the floor as well. A stable hitting mat protects joints and helps create a realistic stance. Many premium builds use layered turf to create a finished appearance from tee to screen, with a dedicated hitting strip or hitting mat that can be replaced over time. If you want to practice uneven lies, putting, or short game shots, design those features early. Retrofitting turf after the enclosure and electronics are installed is possible, but less efficient.
Select Technology That Matches Your Priorities
A launch monitor is the heart of the simulator, but no single model is right for every golf room. The right choice depends on room dimensions, desired data, budget, player handedness, indoor performance, and whether the system will be used for serious training, entertainment, or commercial play.
Some players want detailed club and ball metrics for fitting and swing improvement. Others care most about reliable shot shape, engaging course play, and an easy experience for guests. Overhead, camera-based, and radar-based systems each have benefits and limitations. A technology recommendation should follow a site assessment, not a generic product list.
The same principle applies to software. Consider the courses, practice modes, multiplayer options, graphics, subscriptions, and operating requirements that matter to you. A commercial location may benefit from software designed for leagues and customer engagement, while a residential player may prioritize home-course realism and skill-building tools.
Your computer, projector, and display settings also deserve professional attention. A premium launch monitor can still deliver a disappointing experience if the projector is too dim, the image is poorly aligned, or the computer cannot run the software consistently. For the best visual result, match projector brightness and throw distance to the room’s ambient light, screen size, and mounting location.
Plan Electrical, Lighting, Climate, and Sound Early
The details behind the walls are what make a golf room easy to own. Include dedicated electrical capacity for the computer, projector, launch monitor, network equipment, and optional lighting. Run conduit or plan cable routes before drywall and turf installation so cords do not become visible trip hazards.
Lighting should illuminate the room without washing out the projected image or interfering with camera-based tracking. Dimmable, directional fixtures are often better than broad overhead lighting. Avoid placing bright fixtures directly above the hitting zone or between the projector and screen.
Basements and garages also need attention to temperature and humidity. Electronics, turf, and frequent players all benefit from a stable environment. In colder climates, a garage setup may require insulation, heating, and moisture management before a simulator is installed. Sound treatment can be equally valuable, especially in shared homes, multi-bay facilities, and businesses near dining areas. Impact screens and acoustic panels can reduce the sharp report of a struck ball without making the room feel closed in.
Set a Budget That Protects the Experience
A golf room budget should cover more than the launch monitor. It should include the enclosure and screen, turf and hitting surface, projector or display, computer, software, installation, electrical work, lighting, and any necessary room modifications.
There are places to be flexible, but performance and safety should remain protected. For example, a homeowner may choose a simpler seating arrangement or fewer cosmetic upgrades to put more of the budget toward a premium monitor and impact screen. A business owner may prioritize commercial-grade components and serviceability over decorative finishes because downtime costs money.
The most cost-effective approach is often a complete plan before purchasing individual pieces. Buying components separately can lead to mismatched technology, inadequate room clearance, or expensive revisions later. A custom design gives every piece of the system a purpose.
Work With a Partner Who Understands Golf and Technology
Building a simulator room combines golf knowledge, construction awareness, AV planning, and computer expertise. That is why a consultation should include your dimensions, photos, intended use, player profile, and budget range. A good partner will explain trade-offs clearly rather than push a one-size-fits-all package.
Green Pro Golf Simulators designs, sources, and installs premium simulator systems around the realities of each residential or commercial space. The goal is not simply to place equipment in a room. It is to create a dependable golf environment that feels right from the first swing.
Your golf room should make it easier to practice when the weather is poor, play when your schedule is tight, and gather people around a game they enjoy. Start with an honest evaluation of the space, and the finished room will have far more value than a collection of impressive components.


Comments